

How to Grow Roses from Cuttings in 5 Simple Steps
Growing a rose from cuttings is an easy, fun, and economical way to expand your precious rose collection. Although it doesn’t take an expert rose grower, it’s important to follow a few simple steps for the best chance of your cuttings rooting successfully.
Important note: It’s illegal to propagate a rose variety that’s been patented within the last 20 years. Check the United States Patent and Trademark Office (USPTO) and use the Patent Public Search to see if your rose makes the cut!
Supplies You’ll Need
-
Sterilized pruning shears/clippers or a sharp knife/blade
-
Rooting hormone
-
A pot or container
-
Well-draining potting mix made up of perlite or vermiculite
-
Humidity domes/tents or a 2-liter soda bottle
1. Take Your Cuttings
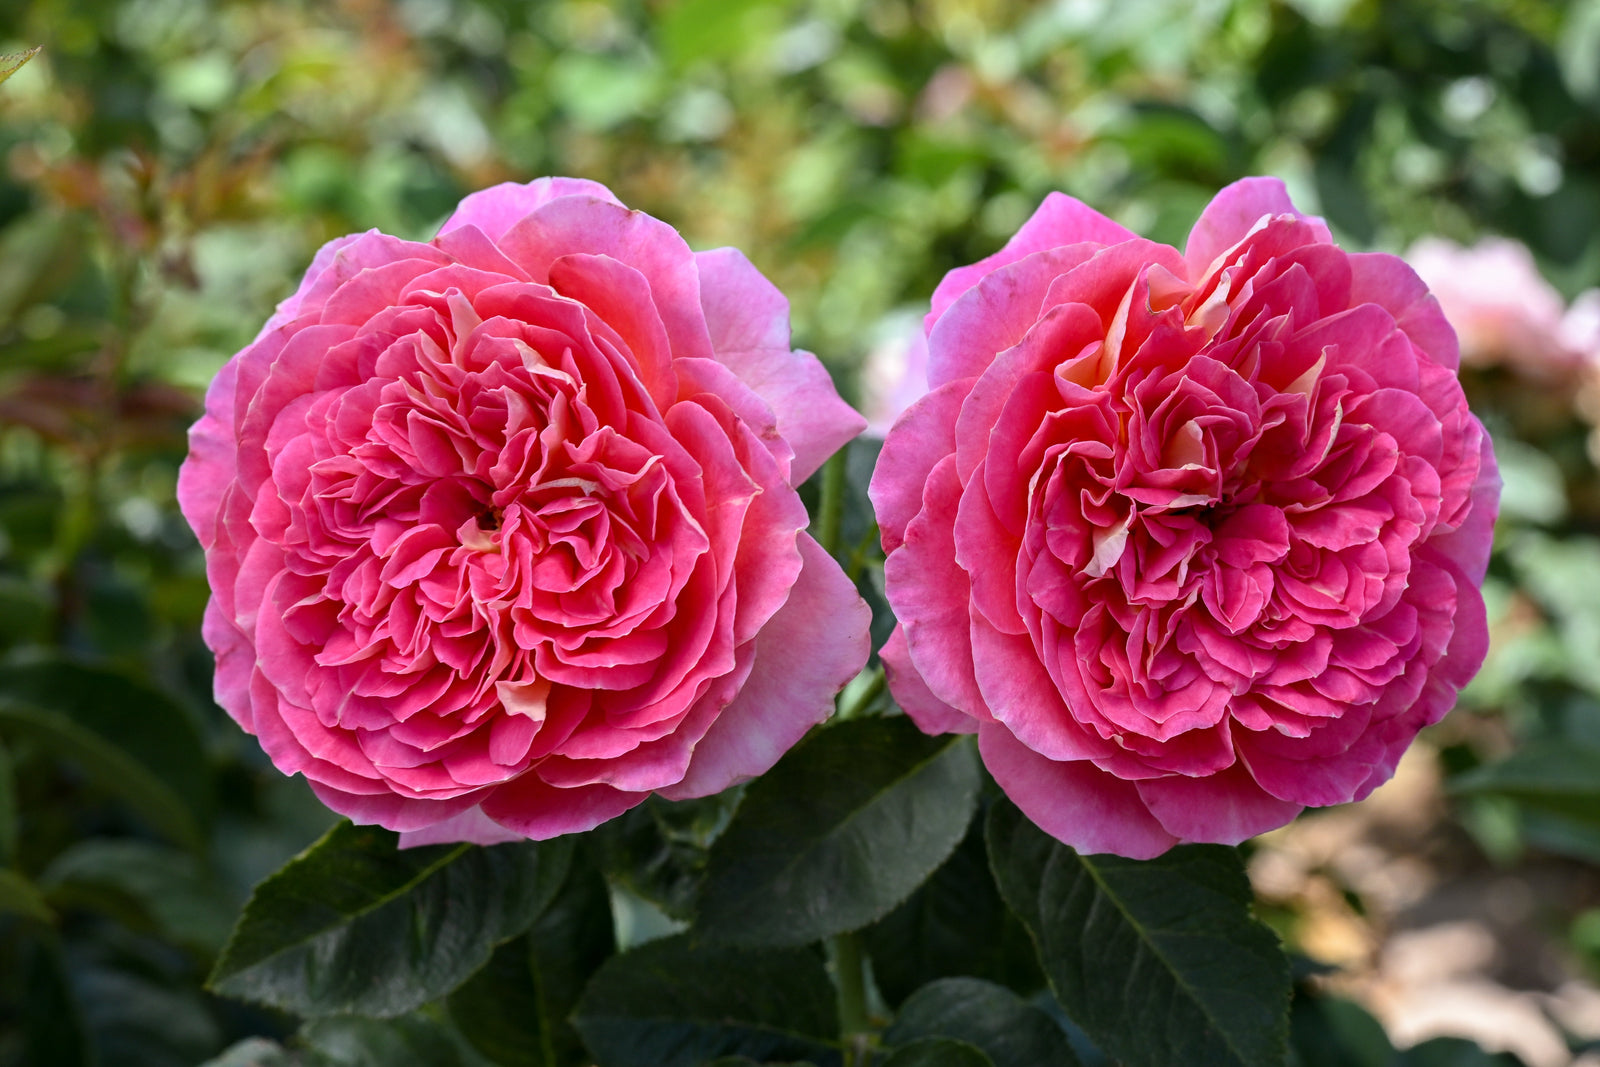
Anyone can grow roses from cuttings, but not without the right rose. Make sure you only take cuttings from healthy, vigorous plants – preferably from new growth that’s occurred within the last year.
You can take cuttings of any size. Just keep in mind that the larger the cutting, the more energy it has stored – leading to faster rooting. The ideal stem is about 8-10 inches in length and has the thickness of a pencil.
Types of Cuttings
Softwood: Softwood cuttings are made of fresh, new growth. They’re the fastest to take root, but they also need the most care – making them the most likely cutting to fail.
Semi-Hardwood: Taken in late summer/early fall, these are strong cuttings that most gardeners are likely to see success with. Plus, they’re adaptable to a wide range of roses.
Hardwood: Being the strongest type of cutting, you can practically set it and forget it with hardwood growth. This also means it takes the longest to develop – up to 8 months or even a year. Hardwood cuttings are typically taken in late fall.
2. Prepare Your Cuttings
With a clean, razor-sharp blade or pair of clippers, cut the stem just above a leaf node – where the leaf meets the stem. Aim for 3 or 4 leaf nodes on your cutting.
Remove the lower leaves from the stem – ensuring that no foliage is buried beneath the soil. Removing the thorns is optional. If they’re brown, you can easily snap them off by hand if you wish.
Just before planting your cutting, dip the end of the stem into a rooting hormone powder or gel. There are a variety of rooting hormones available for purchase. What kind you use is not so important – just make sure it has the active ingredient for the type of cutting you’re using (softwood, semi-hardwood, or hardwood).
3. Plant Your Cuttings
To plant your cuttings, use a container filled with a well-draining potting soil. You can amend the soil with vermiculite or perlite to improve the drainage and airflow.
After dipping your cutting into the rooting hormone, stick it into the pot so that one leaf node is buried. Burying it too deeply can cause excessive moisture retention and lead to rot. Then water it in.
We recommend planting 2 or 3 cuttings in the same container. This will give you the best chance at at least one successful rooting.
One small, but very important tip – don’t forget to label your cuttings! This way you won’t forget which cutting is of which rose variety.
4. Create the Right Growing Conditions
Your rose cuttings will need the right amount of humidity to root successfully. Cover your containers with a humidity dome or tent to trap the moisture around the plants. To avoid root rot, use domes that are vented to allow some of the moisture to escape and prevent the soil from getting soggy.
Another method of building up a little humidity around your cuttings is the soda bottle method. Cut the bottom of a 2-liter soda bottle off and take the cap off. Use the bottle to cover your cuttings.
Place your cuttings in an area where they receive indirect sunlight. Direct sunlight can burn the soliage and cause the cuttings to wilt before they’ve had a chance to bloom.
5. Check on Your Cuttings
4 to 6 weeks later, it’s time to do your first check-in on your rose cuttings!
Gently pull on the stems of your cuttings. If you feel some resistance, that’s a good sign they’ve already begun to root.
Carefully tip your rose out of its container and check the bottom. If you see baby rose roots peeking through the soil, plus brand new shoots of leaves – congratulations! Your cutting has successfully rooted.
Pro tip: Once you see the plant begin to shoot, cut it down to about 5 centimeters. This will ensure that it shoots from the base and not the tip – giving you a stronger rose.
Next time you have a rose that’s thriving in your garden, consider taking a cutting from it and creating more. It’s a fun process that’s rewarding, yet easy on the wallet. Visit the April & Ashley blog for more clever tips & tricks on growing roses that bloom beautifully.